If you’re reading this blog post, hooray! This is my very first website and my very first blog post, so the fact that you would make your way here was not at all certain. At times, the odds were decidedly against it. I’m a lawyer and a law professor – two professions where technical know-how is not only not required, it’s actively discouraged. Here are the different steps I went through as I learned how to create a vacation rental website.
While making this site, there were moments when I wanted to set myself on fire out of frustration. I spent two sleepless nights because my photo gallery slider was the wrong size (I know, I know). But never fear, creating a vacation rental website is very possible, as long as you’re willing to put in the time and the work. A reasonable tolerance for pain helps. If I can do it, you can too.
Step 1: Decide What Pages You Want (and Organize Them)
Before you dive right in and start making a website, take some time to think about your site’s organization. The time you spend thinking of the structure of your website will ultimately pay off by making your website clear and user-friendly.
Initially, you should brainstorm what information you want to provide to your viewers. Put yourself in the position of a person looking for a vacation rental: what things would you want to know? What would you look for from the website of a property that interests you? The answers to these questions are the things that should be included in your website. Once you have determined what to include in your website, group like types information together. Each group of information will become a web page.
If you think of your website as a book, the individual pages are the chapters of the book. Each page should have a distinct reason for being on your website and should move the “story” of your rental forward. At a minimum, a vacation rental website should include a home page, a page about the property, a photo gallery, and a contact page. Other common types of pages are an availability calendar, instant booking, a blog, a page about the area, and a page with local recommendations.
Start small.
Step 2: Choose a Domain Name
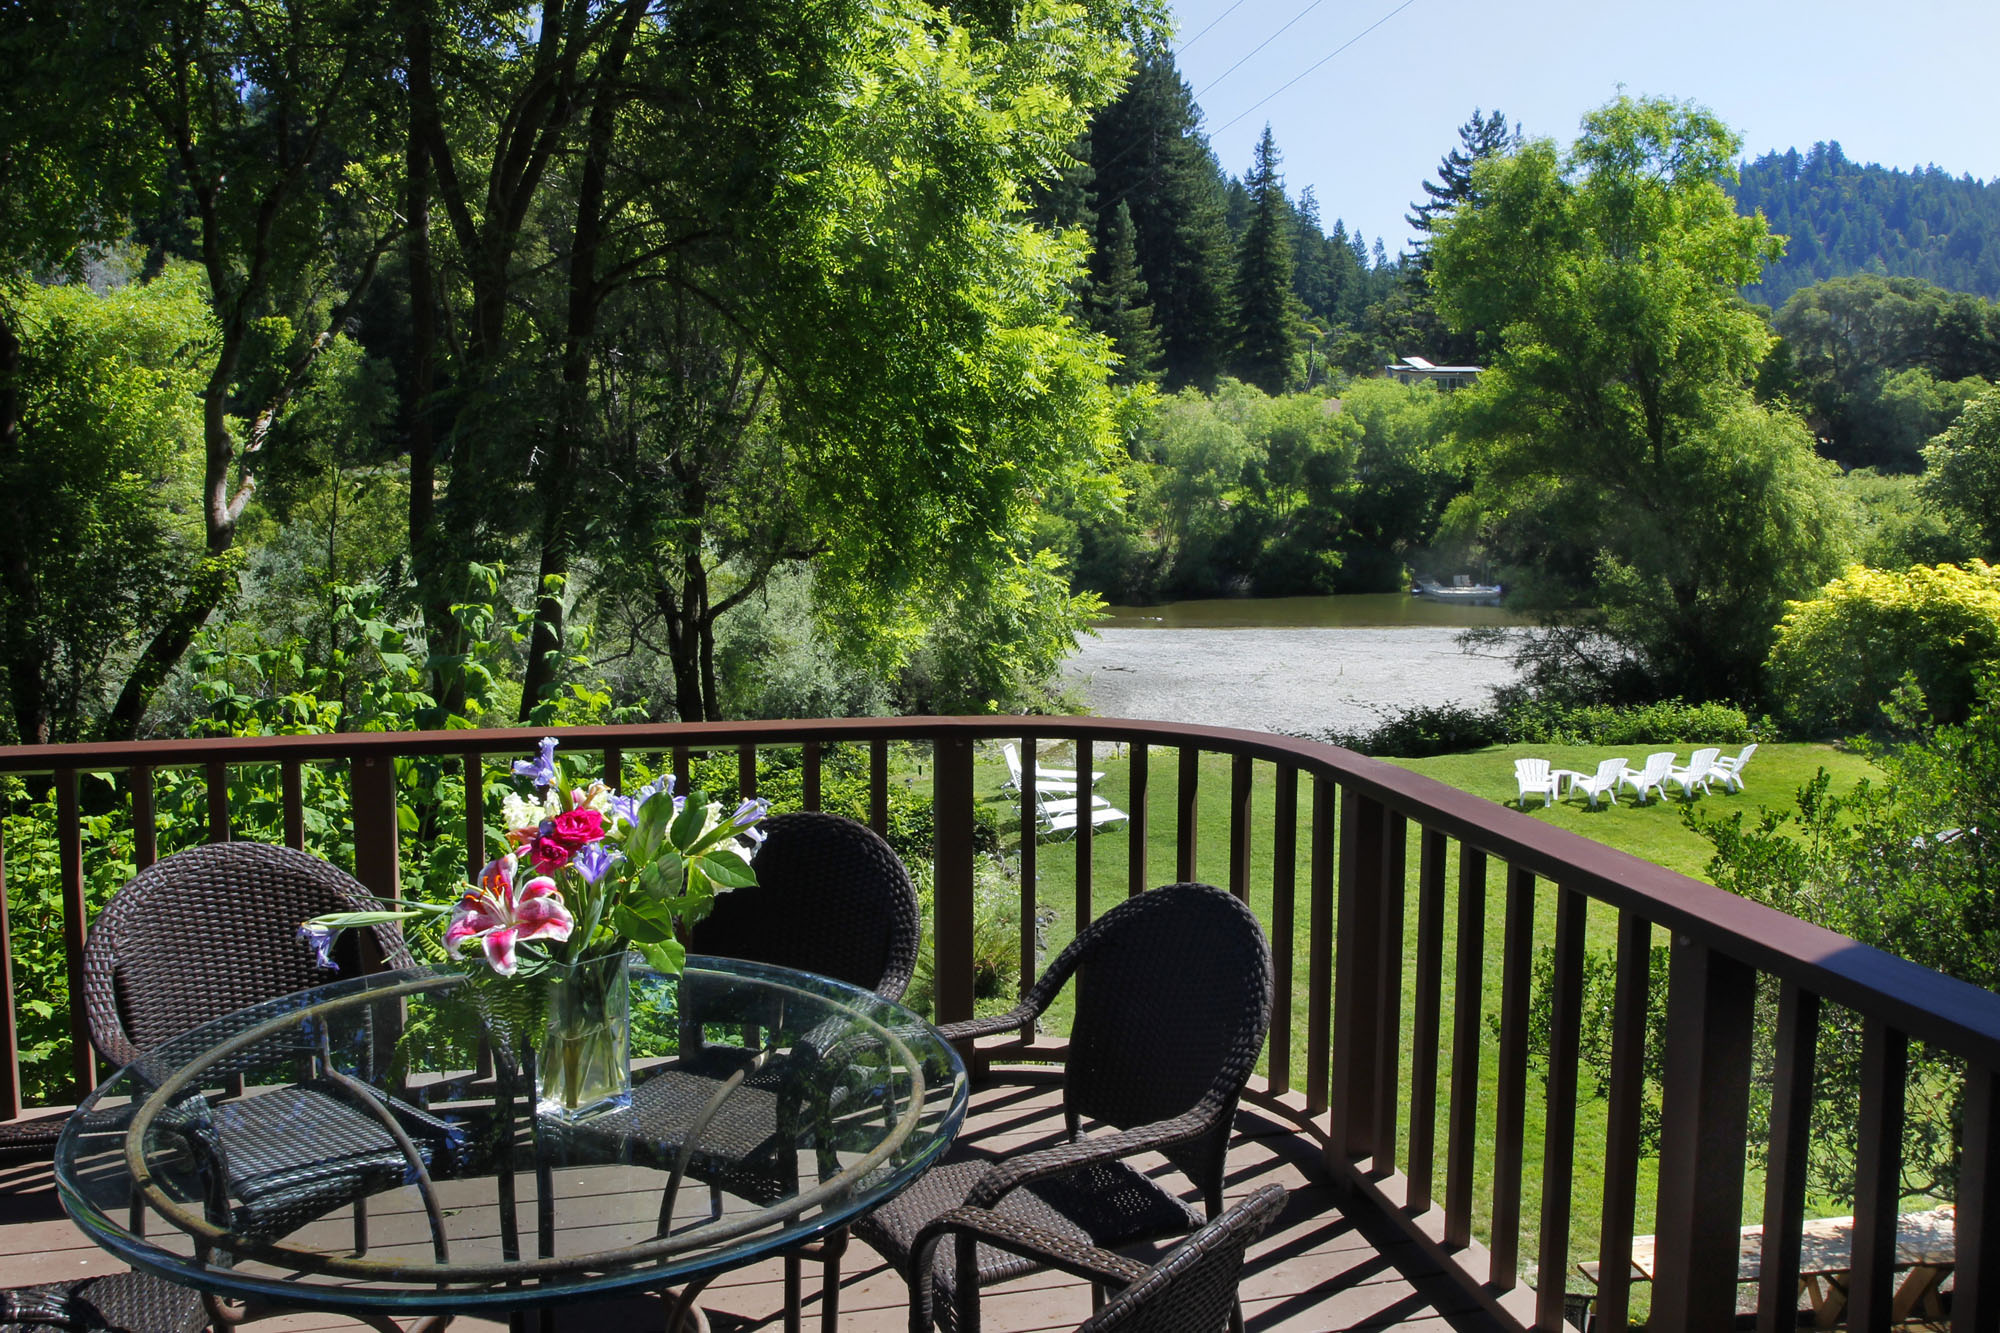
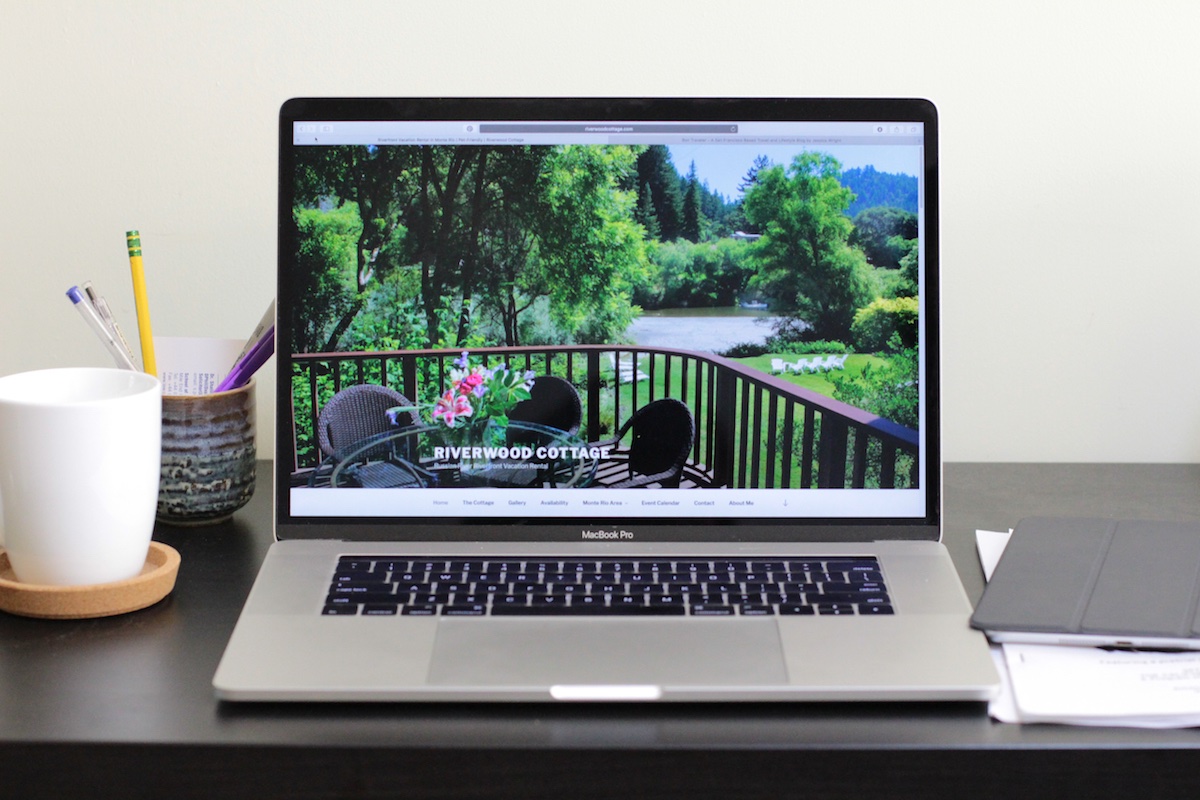
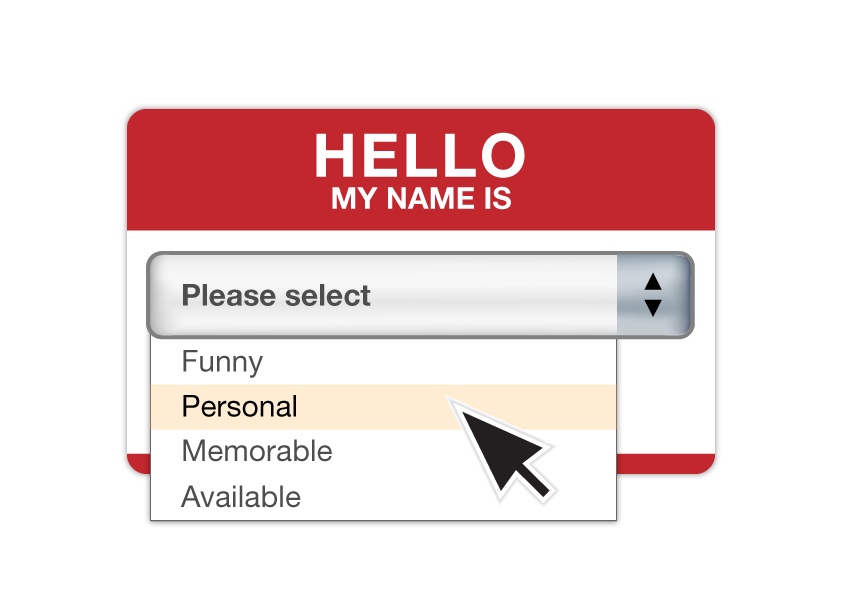
A domain name is the name of your website and is made up of the word(s) that people will type to reach your site. The domain name of this website is riverwoodcottage.com. Hopefully, your home already has a unique name that that helps define your property for potential guests. Your home’s name should be unique to the property and/or its location. If you need help, Lodgify has some tips on how to craft a solid property name.

We inherited the name Riverwood Cottage when we purchased our home. We kept the name for four reasons: (1) prior guests already knew the property by this name so we had built-in goodwill; (2) it connected our cottage with both the Russian River and the redwoods; (3) we were able to purchase the domain riverwoodcottage.com; and (4) we liked it.
Ideally, your property name will become your domain name. You can check if your domain name is available on website such as GoDaddy and Google Domains. Bear in mind that many domain names – especially common ones or ones that use standard words – are already taken. It can be frustrating to come up with the perfect name only to find out that it’s already taken. Be flexible. The domain name doesn’t have to match the property name if that isn’t possible. One strong suggestion, however, is that you use the extension “.com” because that is what most people are familiar with and trust the most.
Once you have a domain name, you can register it for about $10-14/year. Be sure to put the domain on auto-renew so you don’t lose it – and all your hard work – in the future.
Step 3: Decide How You Want Your Website to Be Hosted
Next, you need to decide how you want your website to be hosted. Basically, you have to choose between free and paid hosting. Each has some advantages and disadvantages.
Free Hosting
Free hosting can be found through websites such as WordPress.com (not wordpress.org), Wix and Weebly. Naturally, the biggest vote in favor of free hosting is that the hosting is free. There is no charge to use the hosting service for your website.
The second vote in favor of free hosting is that these websites are easy to maneuver. Each company provides templates that you use to design your website. All templates use “drag and drop” creation and don’t require any coding knowledge at all. In a very short time, you can have a professional-looking basic website up and running.
A large deterent to free hosting is the lack of control you have over your website. Your website exists completely on the host’s servers. If a web hosting service shuts down or changes its terms of service, your website is at its mercy. Furthermore, should you decide to move to another service (free or paid), you probably would not be able to move your website and would lose everything. Finally, you often cannot modify the templates to meet your property’s specific needs or the vision you have for your website.
Also, nothing is ever truly free. Most free hosting sites place advertising or branding on your website or require that you use a version of their name in your domain name, e.g. yourdomainname.wordpress.com. In my opinion, both of these requirements take away from the professionalism of your site. When people book a vacation rental, they want to be confident that the rental is well-run and professional.
Paid Hosting
Paid hosting occurs when you pay a company such as InMotion Hosting, Bluehost or GoDaddy between $6-10/month to host your website on its servers. The company may offer a website builder as part of its hosting package or you can use wordpress.org (not wordpress.com) software to create your website.
Paid hosting allows you to maintain control over the look and name of your website. The website builders or wordpress.org use templates that can be fully customized, depending on your knowledge of code. If you want features added or removed from your website, that can be accomplished as well.
I chose paid hosting for riverwoodcottage.com because I disliked the idea of having ads on my website or being forced to include the hosting company in my domain name. I also have a bit of an independent streak and wanted to be able to control the details of my website.
Most paid hosting sites offer a free trial period. Take advantage of free trials before committing to a monthly subscription. At the start of this project I wasn’t sure if I would be able to actually create a website. The free trial was key to ensuring that I didn’t waste money to host a website that I couldn’t actually make.
Step 4: Install WordPress

Once you have created your hosting account, install WordPress. WordPress is the free software that will power your website. Although it can look daunting at first, once you understand its basic layout, it is relatively easy to use.
One word about WordPress themes: there are a lot of themes to choose from and going through them can seem like an abundance of riches. While it’s tempting to pay the most attention to the overall layout, in my experience it’s the small flourishes of each theme that take the most time and effort to change. A careful eye to those areas may save you headaches later.
Step 5: Create the Website
It’s finally time to start creating your website. WordPress allows you to add, subtract or modify each aspect of your website. Nate Shivar has an excellent multi-part tutorial here that describes the WordPress interface and its different options. Wpbeginner also has short, informative posts about how to make specific WordPress modifications.
This level of flexibility comes at a price, though. WordPress templates provide an excellent starting point for a website but are modified by using what are called “plug-ins.” If you don’t know code, you can download and install plug-ins to make changes to the website. There are many plug-ins out there and many, many online tutorials. I got a lot of help just by Googling the change I wanted to make (for example, “add photo slider in wordpress”). You have to be willing to step out of your comfort zone and try things over and over until it works.
Step 6: Hit “Publish”
You’re almost there. Proofread your copy and follow each link to make sure none are broken. Check, double-check and triple-check your work. Then, hit the “Publish” button!
There are a lot of different things you have to determine when learning how to create a vacation rental website. It’s difficult but also very rewarding. You’ll definitely feel a sense of accomplishment after you see your efforts going live on a computer screen.
Altogether, it took the equivalent of about one full weekend to create a basic site, one full weekend to make all the entries in the Event Calendar and one full weekend to add little tweaks that I thought looked good but didn’t really know how to do. It was also fun.
I hope this has been helpful.
Go forth and create!